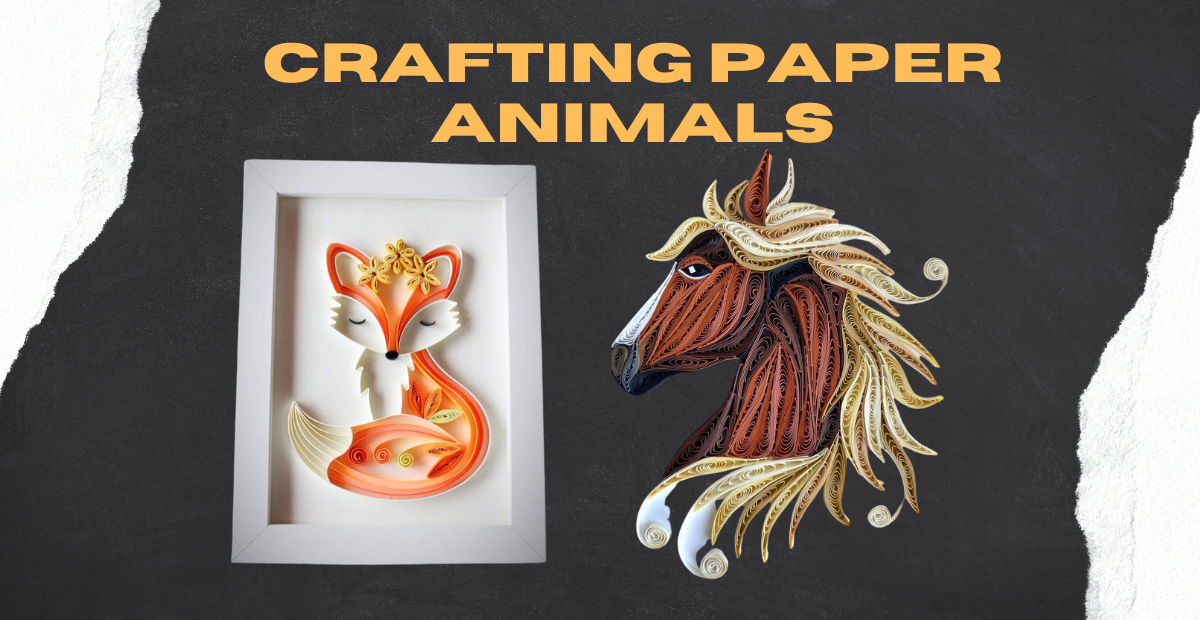
One day, my friends and I, Sarah and Mark, decided to make paper animal. We sat together at the kitchen table, excited but not sure where to start. I said, “Let’s begin with something simple, like a paper frog. We’ll need green paper for this.”
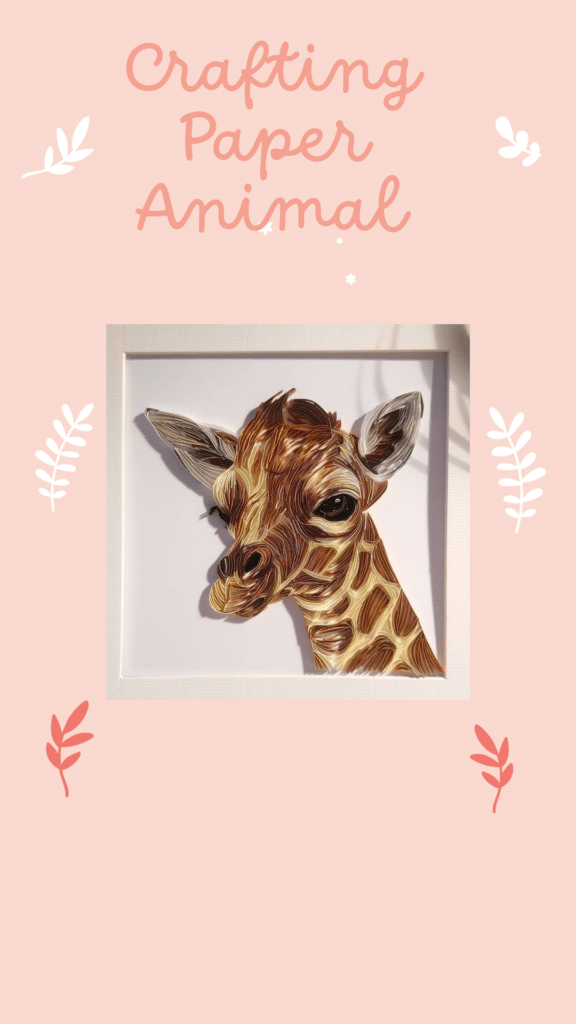
We found green paper and started folding it carefully. First, we folded it in half to make a triangle. Then, we folded the top part down to make a smaller triangle. After that, we folded the sides to make the legs. Our paper frog was coming to life!
Sarah said, “Let’s give it some eyes. We can use small pieces of white paper.” We added little white eyes to our frog, and it looked adorable. Mark suggested, “How about a paper butterfly next?”
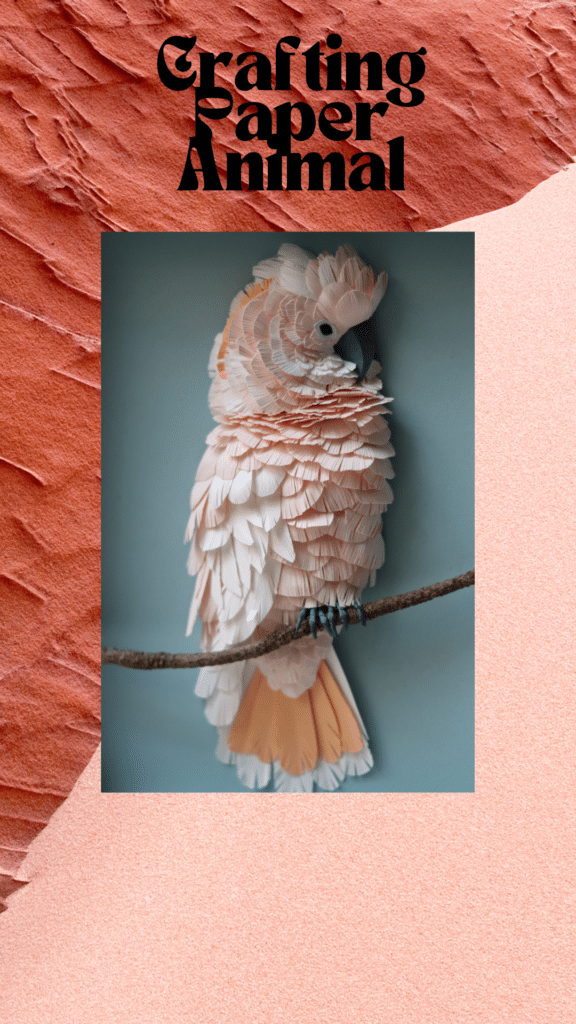
We found colorful paper and started folding it differently this time. We made a rectangle, folded it accordion-style, and then pinched it in the middle. Our paper butterfly could flutter!
By the end of the day, we had a whole bunch of paper animals – frogs, butterflies, and even a paper fish. We laughed and played with our creations, knowing that making paper animals together was a simple and fun way to spend time with friends.
Making paper animals is a fun and simple craft that you can enjoy. In this guide, we’ll show you how to create adorable paper animals step by step.
What You’ll Need
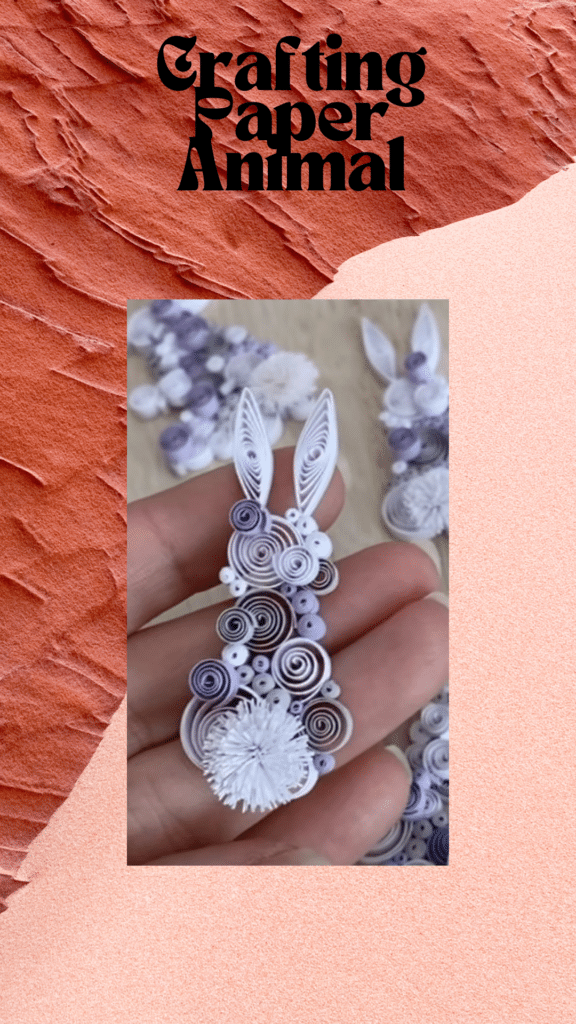
Here’s what you’ll need to get started:
- Paper: You can use colored paper or plain white paper. It’s up to you!
- Scissors: A pair of scissors will help you cut the paper into the right shapes.
- Glue: A glue stick or liquid glue works perfectly to stick the paper pieces together.
- Markers: If you want to add details like eyes or patterns, markers come in handy.
Simple Steps to Make Paper Animals
1. Choose Your Animal
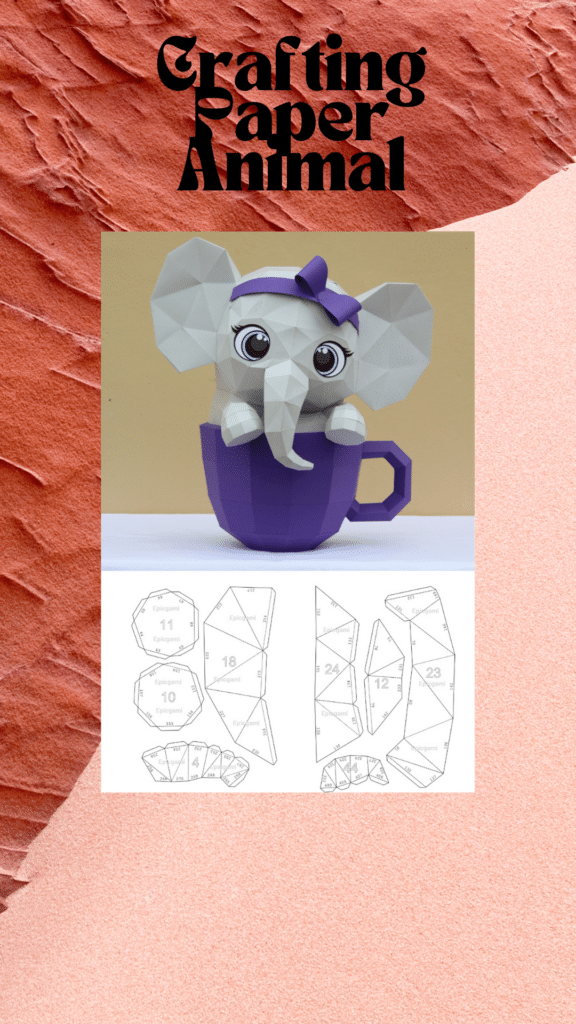
Decide which animal you want to make. Start with something easy like a cat, dog, or fish. You can find pictures online to use as a guide.
2. Cut the Paper
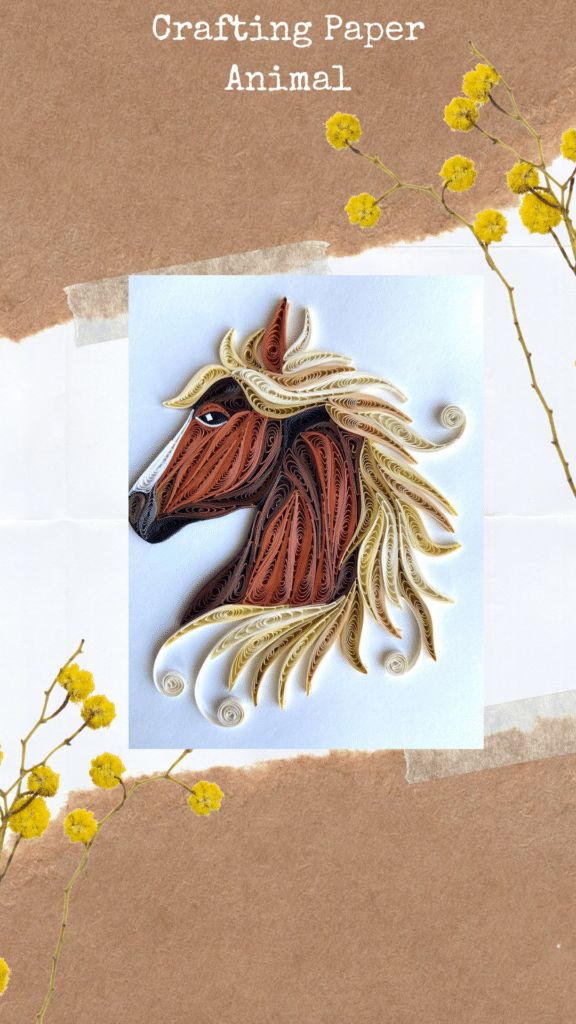
Cut the paper into the shapes you need for your animal. For example, for a cat, you’ll need a big circle for the body, small circles for the eyes, and triangles for the ears.
3. Fold and Shape
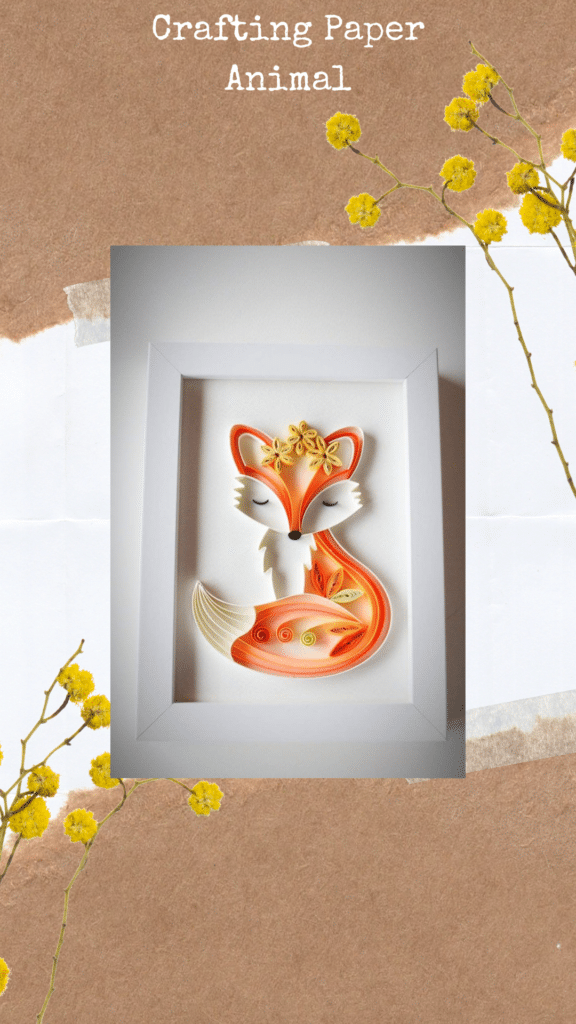
Fold the paper as needed to create the body and limbs of your animal. For legs and tails, just fold a strip of paper back and forth like a fan.
4. Glue it Together
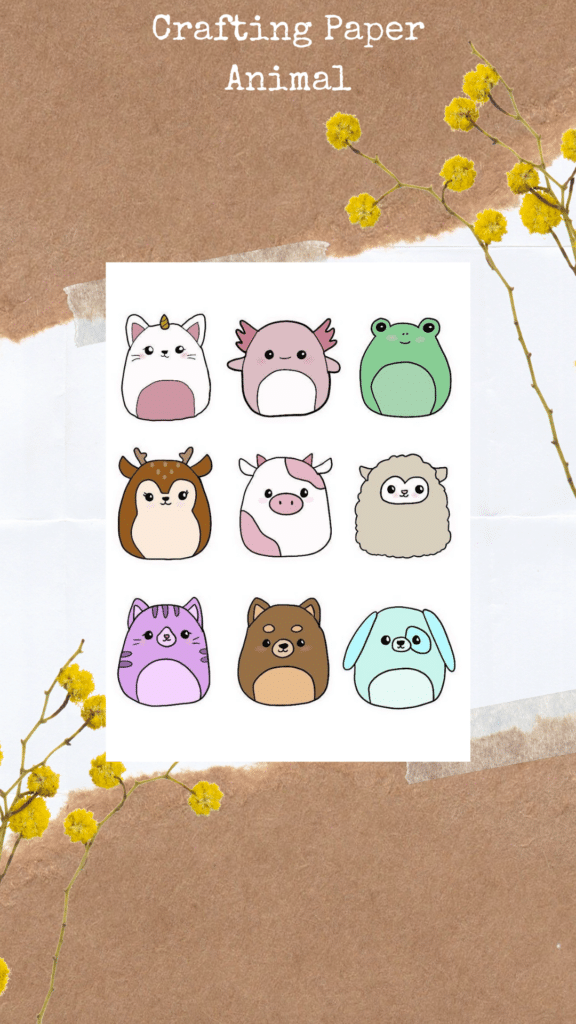
Use your glue to stick the paper pieces together. Start with the body and then add the legs, head, and tail. Don’t forget the eyes and any other features you want to include.
5. Add Details
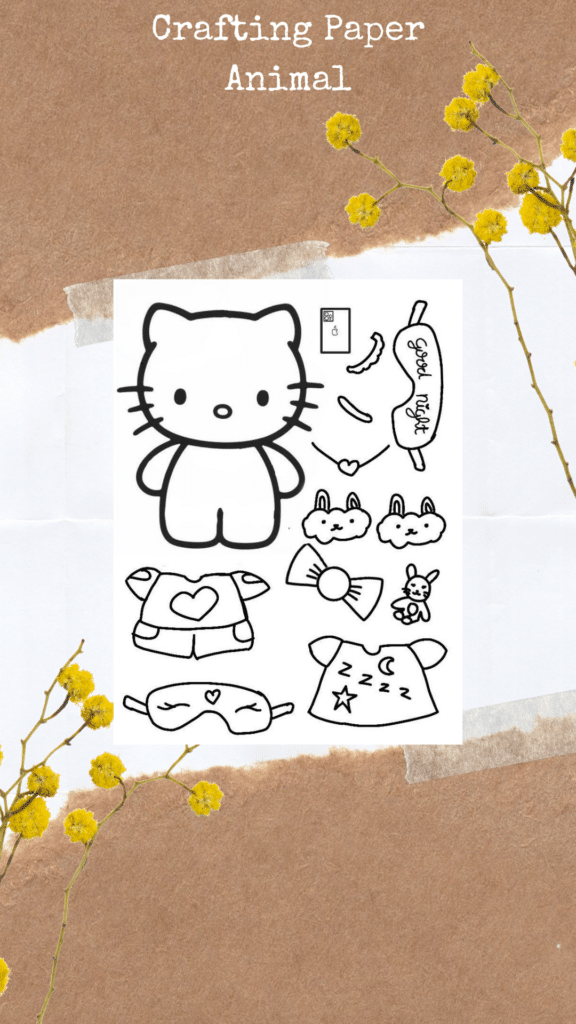
Use markers to draw on details like eyes, a mouth, or stripes. This makes your paper animal look more lifelike.
6. Play and Display
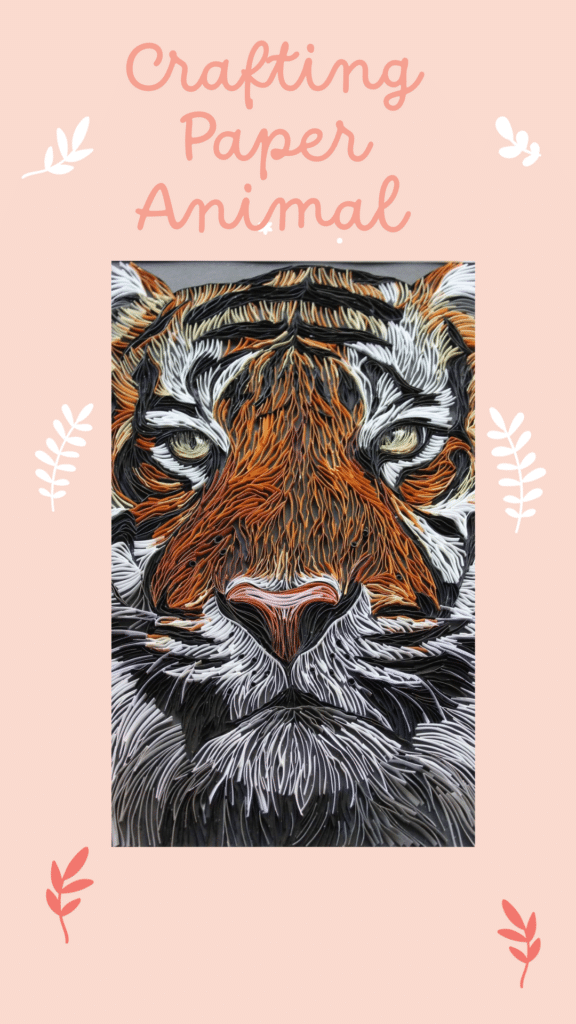
Once your paper animal is dry, you can play with it or display it proudly on a shelf.
Tips for a Great Paper Animal
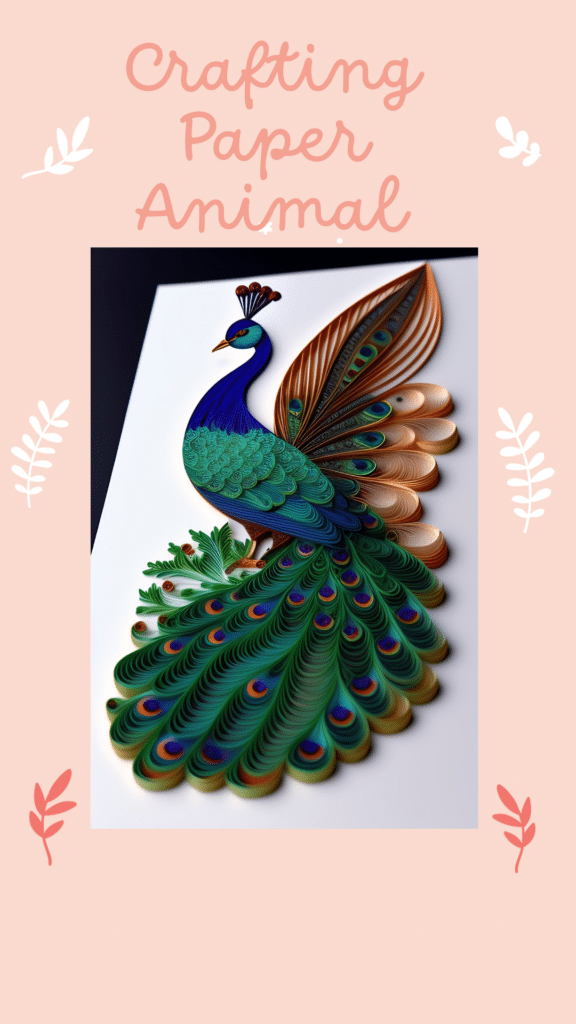
- Start with simple animals and work your way up to more complex ones.
- Be patient. It’s okay if your first paper animal isn’t perfect.
- Experiment with different colors and patterns to make your animal unique.
Easy Paper Animal Ideas
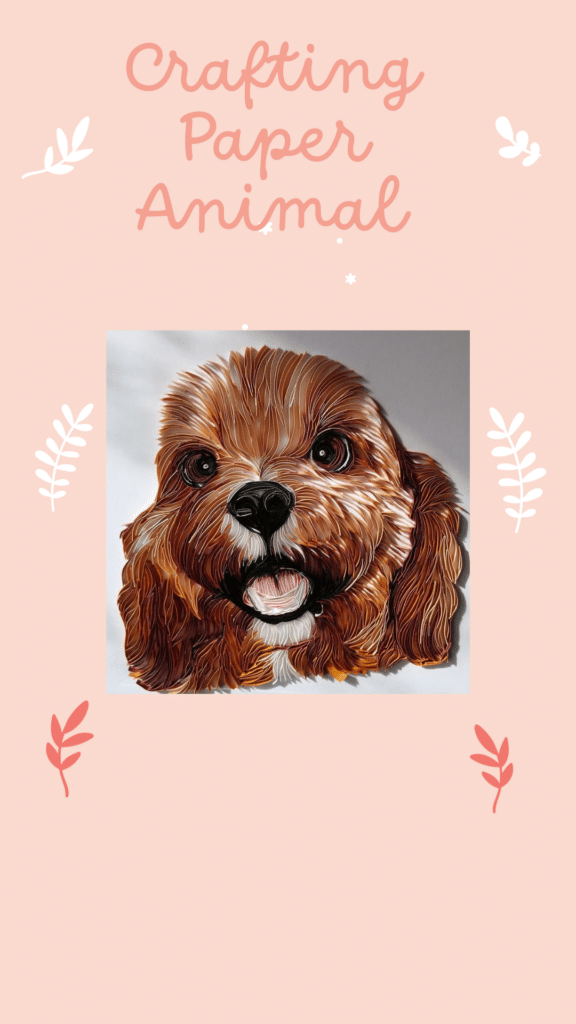
Here are some easy animals to start with:
- Cat: A round body, pointy ears, and a long tail.
- Dog: A round body, floppy ears, and a wagging tail.
- Fish: An oval body with a triangle tail and fins.
Conclusion
Crafting paper animals is a fantastic way to have fun and be creative. With some paper, scissors, glue, and a dash of imagination, you can make adorable paper animals in no time. So get your supplies ready and start crafting your paper zoo!
Share your paper animal creations with friends and family to spread the joy of this delightful craft. Enjoy your crafting adventure!
